Basic Chair
by Daniel McCullough
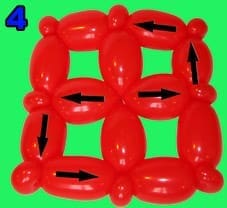
 This chair is made from 660s and Link-O-Loons arranged in four rows and nine columns.
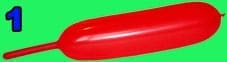
1. Inflate sixteen 660s leaving 6 inch – 6.5 inch uninflated.
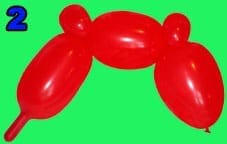
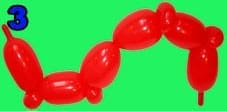
2. Make a 7.5 inch bubble and then a 3 inch bubble (make a pinch-twist) and then repeat the process and finish with a third 7.5 inch bubble.
3. Tie the balloons together.
4. Make four of these.
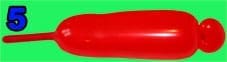
 5. Inflate nine 660s leaving 7 inch . 7.5 inch uninflated. Now make a medium pinch twist on the first 660.
6. Place the 660 pinch-twist under the centre of the first row and secure in place.
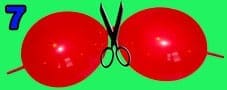
7. Inflate pairs of six inch Link-O-Loons and tie together, and then cut off the excess knot to reduce friction with other balloons.
8. Secure the Link-O-Loons into position.
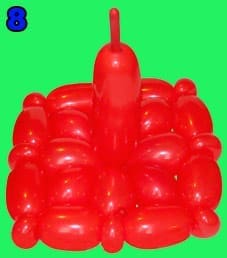 9. Using the centre column only, start building the four rows on top of each other.
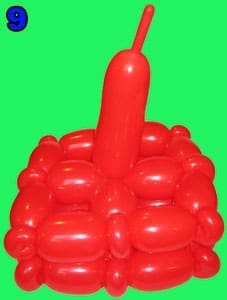
10. Break off the excess off the centre column (leaving a medium bubble) and then create a pinch-twist. Now make the side columns.
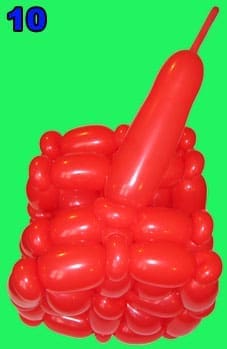
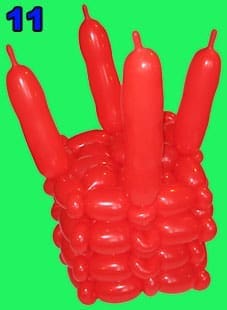
11. You should have this.
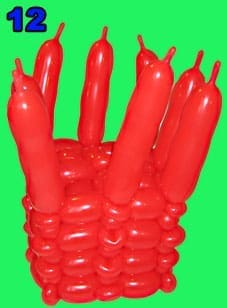
12. Now make the corner columns.
 13. Squeeze the air along on the two front corner columns and make two bubbles at the end, then pinch-twist the inner bubble.
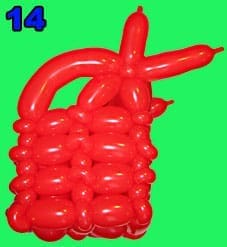
14. Twist the two other columns (from the same side) around the two bubbles to secure the chair arms.
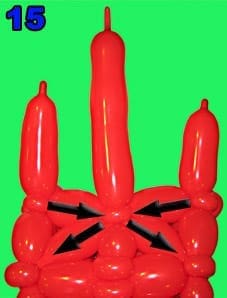
15. Then break off and tie the excess of the back centre column and add a new 660. Make a bubble (about 5 inches) and then make two medium pinch-twists. Take the longer remaining balloon from each side and twist them through the pinch-twists of the centre column to the other side.
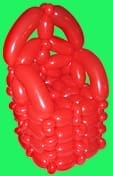
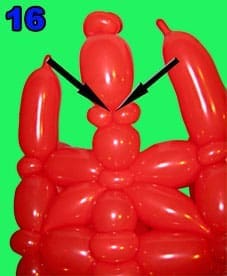
16. Make another bubble in the back centre column, followed with two medium pinch-twists and then repeat the process. Secure the 660s from the back corner columns into the first set of pinch-twists.

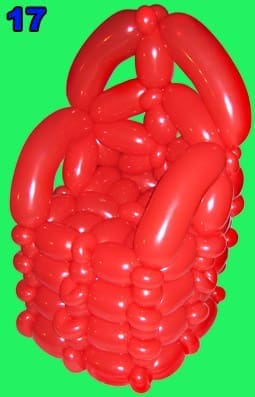
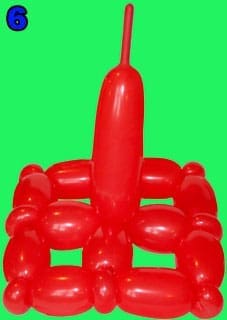
 17. Inflate a 660 (almost fully) and secure it over the top off the chair to complete it.