Little Duck
by Twistina
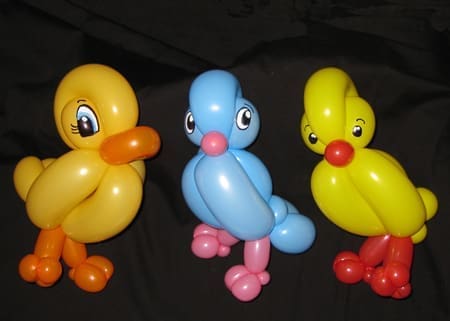
Here’s an easy little duck that I make all the time. It is so cute! With a few minor modifications, it can become a chick or bluebird.
You will need one orange 160 and one goldenrod or yellow 260, a black marker pen and a white paint pen for the artwork.
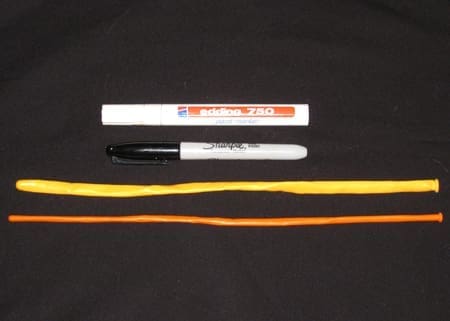
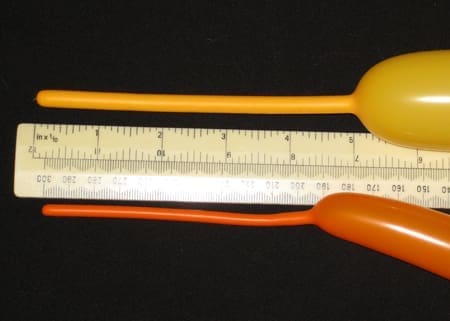
Inflate both balloons leaving approximately a 4 to 5″ tail.
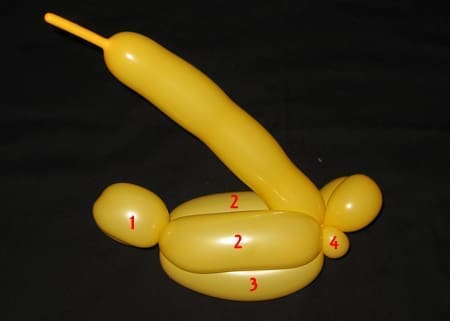
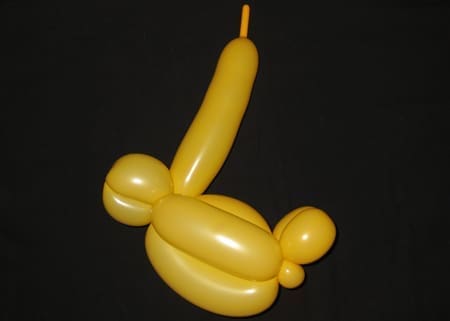
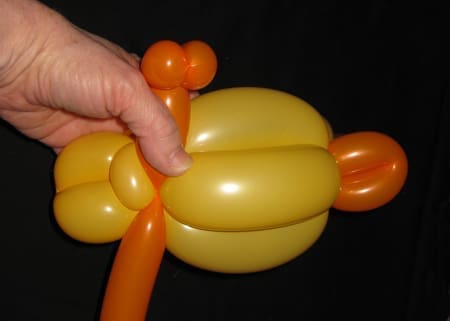
Lightly stretch the 260 to improve elasticity, then Twist 1) 2 x 2″ bubbles, lock twisted together. 2) 2 x 5″ bubbles, lock twisted together. 3) a 6″ bubble 4) a pinch twist of less than 1″

Roll bubble 3 right through the pair of # 2 bubbles. Bubble 3 forms the duck’s chest. Twist 2 more 2″ bubbles and Lock twist to make the tail.
Make a softish 2.5″ bubble
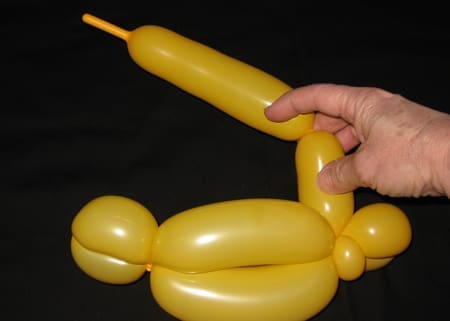
Twist around to the pair of 2″ bubbles at opposite end.
Wrap remaining balloon tightly over the pair of 2″ bubbles and twist around the base of them.
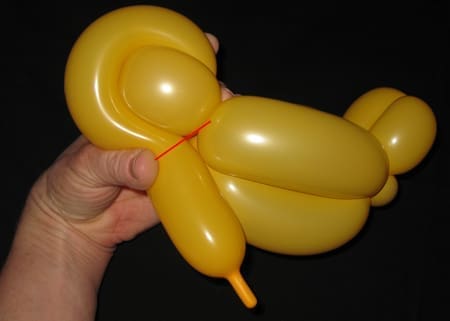
Thus. This forms the head.
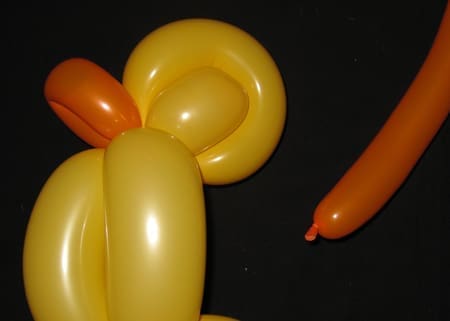
Break off this last bit of balloon and secure.
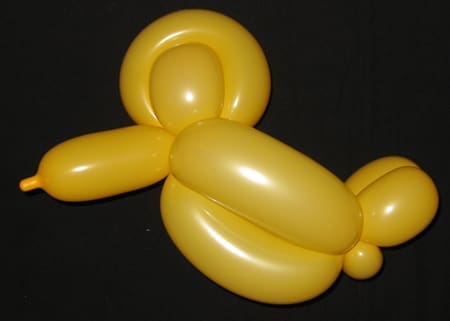
For the beak, make a 4″ loop in the 160 balloon and wrap securely to the base of the head.
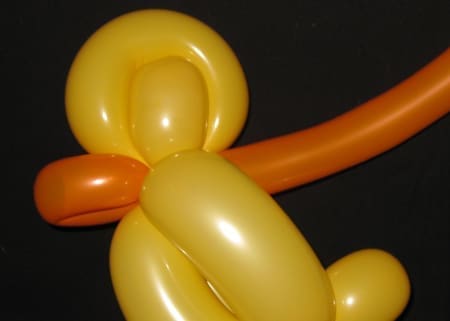
Break off the rest of the balloon BUT keep it inflated and tie off with a knot.
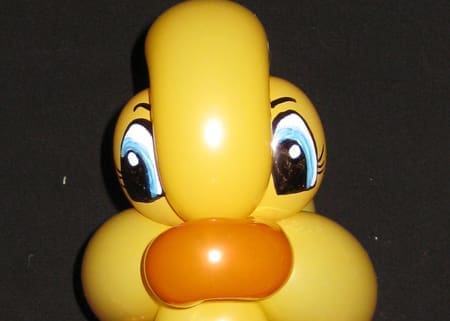
Tie or wrap in the cut end of the beak balloon so that it remains secure. Tweak the end of the beak with your fingers so that it curves upwards giving a pleasing shape.
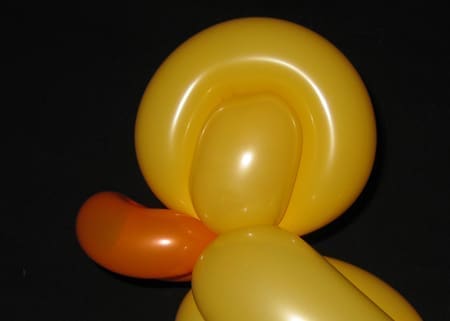
Form 2 x 1″ bubbles followed by a tiny pinch twist to form a foot.
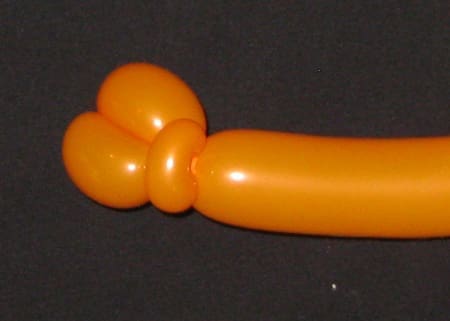
Make a 2″ leg bubble and twist into the point between the duck’s chest and the Pinch twist at the base of the tail.
Make another 2″ leg bubble followed by a second foot.

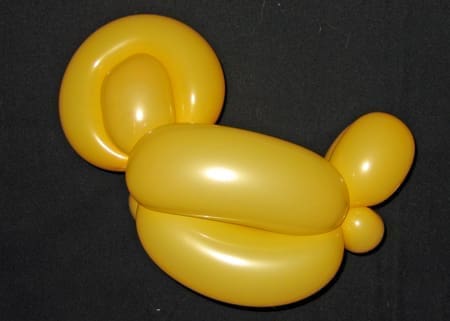
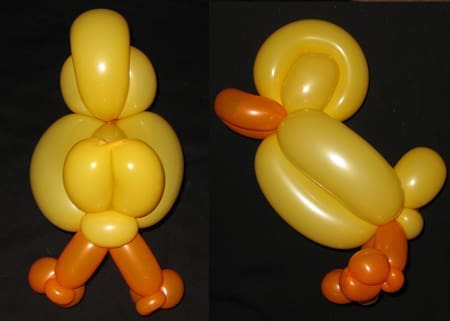
Break off and secure the remaining balloon. Make sure the bubbles are arranged to match the photos.
Draw on the eyes using black marker and white paint pen. I like to add a touch of blue too!
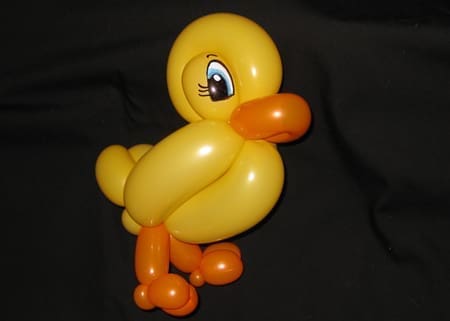
Give the duck a puffed out chest by lightly squeezing in your hand.
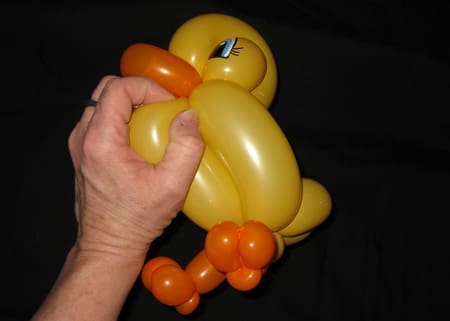
The Finished Little Duck.
The bluebird and the chick have a beakmade from a small bubble from the tip of a balloon. The Bluebird has an extra pinch twist at the base of the tail to make it point downwards and the head and chest bubbles are rather smaller than the duck.
Happy twisting! Twistina