It’s A Round World We’re Living In
Magical Balloon Michael
Michael Philo
Hello again everyone!
This month I will be exploring the world of round balloons and their uses. What better way to begin than with one of the world’s smallest creatures, the ant.
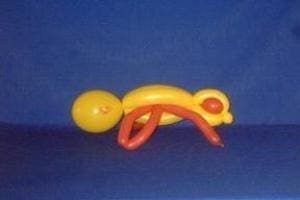
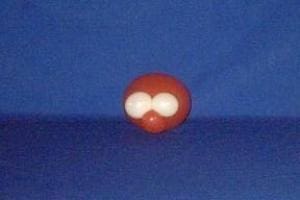
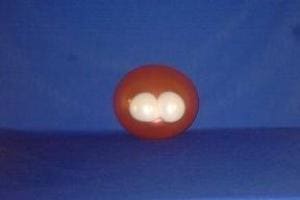
My friend Gary Gardner (a.k.a. Professor Wonder) has a great design for an ant, which you can see at http://www.professorwonder.com/baloon38.htm. He makes this without the use of any rounds at all, but it helped inspire my design for an ant which uses two 5″ Rounds, one for the eyes and one for his backside.
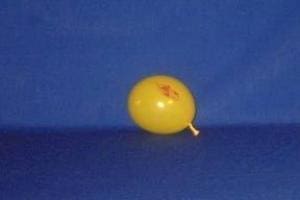
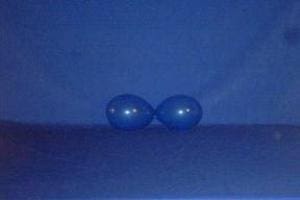
To make this you will need one red and one yellow 5″round, a red 160Q and a yellow 260Q. It is made in reverse order, from back to front. Start off by fully inflating a yellow 5″ round (I like to use the Flames 5″ Yellow, exclusive to Continental Sales http://www.continentalsales.net/item.php?it=2210&id=228 ). Now fully inflate a yellow 260Q leaving a three inch tail and tie it to the round.
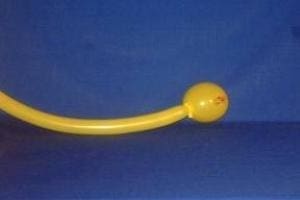
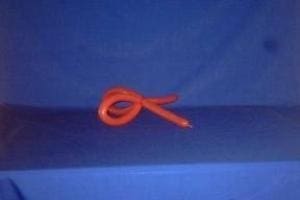
Make two 8″ bubbles and lock twist them together. Set this aside and fully inflate a red 160Q giving it a good burp. Split the balloon in two and twist about two thirds the way up. This looks like the old fashioned fish minus the pinch twist for the mouth.
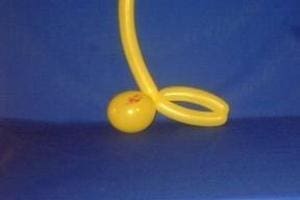
Make a figure eight out of the loop of the fish like so. Now make a twist in each of the curves of the figure eight. These will be the six legs of the ant.
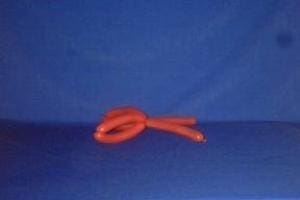
Place the legs over the two 8″ bubbles in the yellow 260Q and make a 9″ bubble in the yellow. Run this through the twist between the two 8″ bubbles. Make two 3-4″ bubbles depending on how much balloon you have left over.
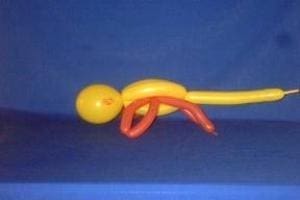
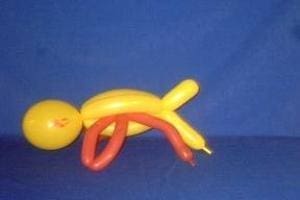
Now inflate the Red 5″ round to about two inches. Split it in two and lay it over the last two bubbles you made in the ants head. Now make a bubble slighty longer then the last two and run it through the front. It’s almost done now…
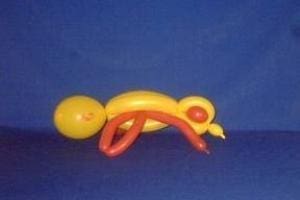
The last thing you do is divide the last few inches of balloon into two ear twists as the lips or mouth of the ant.
Now we move on from one of the world’s smallest creatures to one of the world’s tastiest fruits, the tomato. Once again I used a design of Professor Wonders’ as a building block. ( http://www.professorwonder.com/baloon27.htm ) Here’s my version of a tomato. The design is fairly simple yet quite effective.
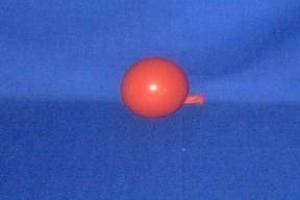
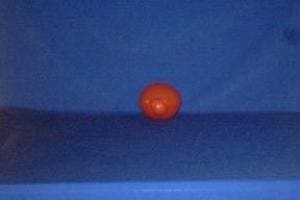
For the tomato you will need a red 5″ round and a white 5″ round. First, inflate the red to about four inches and tie off high in the neck. Make a 1″ ear twist using the knot to secure. If you have ever made any of my balloon babies (see my Jan. 05 Column) this will be pretty easy. Inflate the white balloon to about two inches and tie off. Split this in two and wrap it around the ear twist on the red. I like to use a Green Qualatex Balloon Marker to draw on the stem.
Another quick tomato can be done with a red 5″ Googly Eyes/Octopus Face. All you do is inflate it to about 3″ and tie off. Make a tulip twist and tie a green scrap around the knot. This also works for a orange or a pumpkin using the appropriate color of printed balloon.
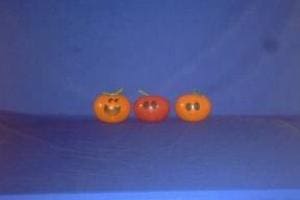
If you really want a big tomato use a 9″ or 11″ Round or 11″ Googly Eyes.
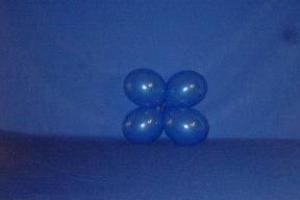
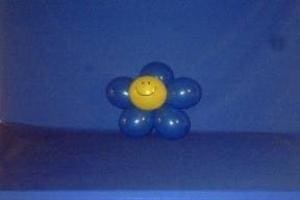
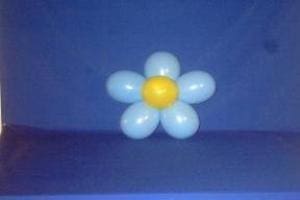
What goes better with fruit than flowers? I am going to show you my favorite design for a flower hat. All you need is six 5″ rounds and a 260. Make sure five of the 5″ rounds are the same color (although it would be pretty funny to make a tie-dye flower, but it wouldn’t be quite as effective).
Inflate all of the 5″ rounds to about 4 inches and tie off. Tie two of the rounds together at the knots to make a duplet.
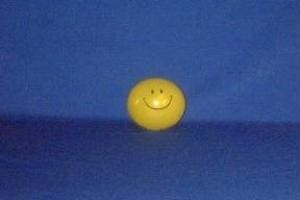
Repeat this and twist the two clusters together. Now take the last round of the same color and tie it in for a cluster of five. Inflate the sixth round (I like to use a Smile Face TopPrint, also Exclusive to Continental Sales http://www.continentalsales.net/item.php?it=917&id=228 ) to about 4″ and tie off high on the nozzle.
Twist a 1-2″ bubble and wrap it around the five balloon cluster. You can just tie the balloon into the cluster but I find the bubble helps keep everything in place. To make this a hat just tie a fully inflated 260 to the knot of the center balloon, make two 1″ ear twists and a 6″ bubble, then wrap the balloon around the person’s head.
To make this more personalized you can make the flower in school colors, like the flower pictured on the right which uses the colors of Central Michigan University.

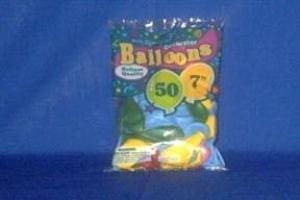
The flower hat can also be made with 7″ Round Blue Bird Balloons. You can get these at Wal-Mart in the party supplies. They are packaged in 50 count assorted bags. The colors are Pale Blue, Yellow, Red, Orange, Green and Pink. Below you can see a photo of the package and the 7″ Flower that can be made.
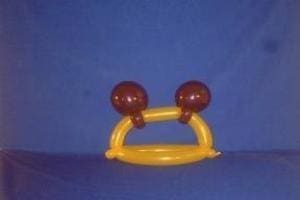
Similar to the flower hat is the quick and easy Mouse Hat which you can find in Ralph Dewey’s book Celebrity Balloons. His design uses two 5″ rounds and a 260 and can also be made in any school colors. Here’s my Central Mouse University Hat.
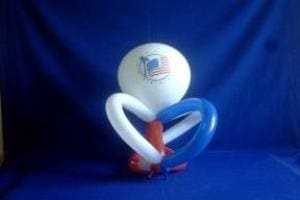
The final round design I wish to show you is especially great for the month of July. It’s not only fun but it’s patriotic too. This one was inspired by Captain Visual and his book Captain Visual’s Big Book of Balloon Art. On page 52 he shows a Crown Hat. Here is my version of it, custom made for July. It takes three 260s and an 11″ American Flag. This hat is great for 4th of July parties and picnics.
Thank you for reading. I hope you were able to learn something new.
As always questions and comments are welcomed at: [email protected]
See you next month!
Michael
PS. In answer to all of your emails, YES there will be a Odds 2 Column coming soon using the Betallatex Odd Shapes. Thanks to everyone who asked.