Balloon Hands
by Ralph Dewey
If you make people-type balloons you’ll need to make balloon hands. There
are a lot of ways to make hands out of balloons. They range from being
very simple to being very detailed. Below I’ve described some of the
styles of hands which are commonly used to make most balloon characters or
people. All of the styles are made from #260 balloons except where noted.
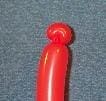
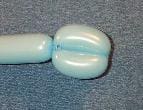
Ear Twist Hand
One very simple balloon hand made from an ear (pinch) twist. If you split
it into two bubbles, usually one larger than the other, it becomes more
secure and less likely to untwist.
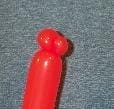
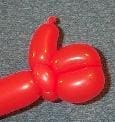
3-Bubble Hand
One of the most common and simplest styles of hands is made from three
bubbles. Twist off three bubbles. Lock-twist (twist connect) the last
two bubbles. Often twisters form it so that the thumb bubble is
positioned at the palm area instead of from the side of the hand. This is
because the thumb (the first bubble) has difficulty staying in place at
the side.
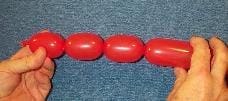

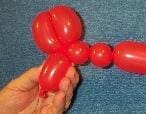
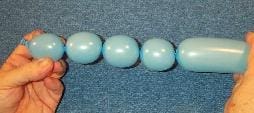
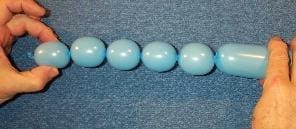
Dewey’s Favorite Hand
One of my favorite designs uses five bubbles. Using a #260 balloon twist
off a 1″ bubble (the thumb) and two 2″ bubbles (the fingers).
Twist-connect the last two bubbles. Notice that it starts out about the
same as the 3-Bubble Hand. Continue by twisting off two 3/4″ bubbles (the
wrist) and ear twist each of them. Pull and roll the knot so that it
yields a little more balloon length, then curve the thumb. Arrange the
bubbles as shown in the photo.
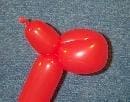
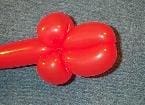
Simple Mitten
This one only needs two bubbles, one small and one long. Fold the long
bubble and twist it to form the simple mitten.
Mitten with Wrists
A little better mitten can be made by adding two �” ear twist bubbles to
the base of the mitten.

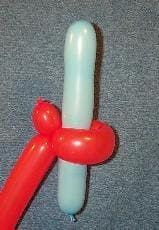
Mitten Holding
When the balloon hand needs to hold something, often a simple mitten is
used.
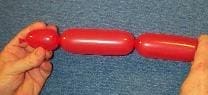
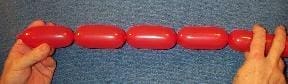
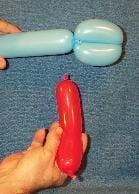
Twins with Double Cuffs
Another version of the hand is made by twisting off four 3″ bubbles. Fold
twist the first two bubbles (the cuffs), then twist-connect the last two
(the fingers).
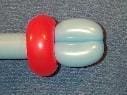
Twins with a Loop Cuff
Twist off two 3″ bubbles. Fold and tie them in place. Take a length of
another #260 balloon (about 6 inches) and tie it around the base of the
twin fingers.
4-Bubble Paw
Twist off four bubbles. Lock-twist the last three bubbles. This is
useful for bears, cats and lions.
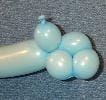
Advanced Paw
The advanced paw uses 5 bubbles all about the same size. Fold and
twist-connect the last two bubbles (bubble 4 & 5). Then wrap the first
three over the top of the of bubble 4 & 5 and twist-connect it.

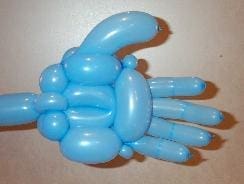
Dewey’s Detailed Hand
When the situation calls for it, a more detailed hand can be used. My
design shown below primarily uses #260 balloons. However, the four
fingers are made from the nipple ends of #160 balloons.
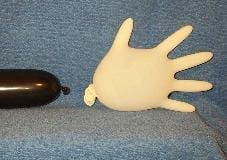
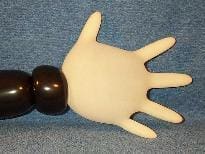
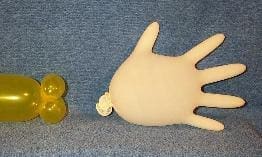
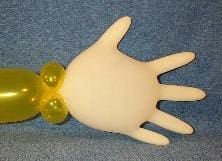
Rubber Gloves
For larger sculptures, surgical latex gloves can be used for the hands.
The toughest part of using them is tying off the wrist (nozzle). You can
attach them to a #350 balloon (the arm) by using an apple twist. This is
also awkward to accomplish. Another way to attach the glove is by making
two large ear twists (pinch twists) on the end of the #350. Then you can
place the knot of the glove between the ear twists then wrap it around the
two ear twists. The glove should be cradled between the two ear twists.